Andrew James Bread Maker Manual: A Comprehensive Guide
Unlock delicious, homemade bread effortlessly! This manual provides detailed instructions, troubleshooting tips, and guidance for maximizing your Andrew James Bread Maker experience.
Welcome to the world of freshly baked bread! Your Andrew James Bread Maker is designed to simplify the process of creating a variety of breads, from classic white loaves to more adventurous whole wheat and French-style creations. This appliance takes the effort out of kneading, proofing, and baking, delivering consistently delicious results with minimal hands-on time.
This manual serves as your comprehensive guide, walking you through each step of operation. Whether you’re a seasoned baker or a complete beginner, you’ll find clear instructions and helpful tips to ensure success. We’ll cover everything from initial setup and understanding the control panel to utilizing pre-programmed settings and exploring advanced features like jam and dough making.
Furthermore, we’ll address common issues and provide solutions, ensuring your bread maker remains a reliable kitchen companion for years to come. Explore YouTube’s helpful resources for visual guidance and troubleshooting assistance, enhancing your baking journey.
Understanding the Control Panel
The control panel is your command center for operating the Andrew James Bread Maker. It features a digital display and a series of buttons, each with a specific function. Familiarizing yourself with these controls is crucial for successful bread making.
Typically, you’ll find buttons for selecting bread size (often 500g, 750g, or 1000g), crust color (light, medium, dark), and program selection. A ‘Start/Stop’ button initiates and halts the baking cycle. Other common buttons include ‘Timer’ for delayed baking, and options for quick bake or specific bread types like whole wheat or French bread.
The digital display will show the current program selected, the baking time remaining, and any error codes that may occur. Refer to the troubleshooting section of this manual, and explore YouTube’s help videos, for assistance interpreting these codes. Precise control ensures perfect loaves every time!
Key Features and Benefits
The Andrew James Bread Maker boasts a range of features designed for convenience and exceptional baking results. Enjoy freshly baked bread with minimal effort, customizing recipes to your exact preferences. Key benefits include a variety of pre-programmed settings for different bread types – white, whole wheat, French, and more – simplifying the baking process.
A built-in timer allows for delayed baking, ensuring warm bread is ready when you are. Adjustable crust settings cater to individual tastes, from lightly golden to deeply browned. The non-stick baking pan ensures easy bread removal and cleaning. Explore YouTube tutorials for inspiration!
Beyond bread, this versatile machine can also create jams, doughs for pizzas and pastries, and even gluten-free options. It’s a fantastic way to control ingredients and enjoy healthier, homemade treats.

Setting Up Your Bread Maker
Prepare for baking success! This section guides you through the initial setup, ensuring your Andrew James Bread Maker is ready for its first loaf.
Initial Setup and Cleaning
Unboxing and Component Check: Carefully remove your Andrew James Bread Maker from the packaging. Ensure all components are present: the bread maker unit itself, the kneading paddle, the dough hook, a measuring cup, and a measuring spoon. Inspect each part for any shipping damage. If anything is missing or damaged, contact customer support immediately.
First-Time Cleaning: Before your first bake, thoroughly clean all removable parts – the kneading paddle, dough hook, and bread pan – with warm, soapy water. Rinse well and dry completely. Wipe the exterior of the bread maker unit with a damp cloth. Do not immerse the main unit in water! This could cause electrical shock or damage the appliance.
Positioning the Bread Maker: Place the bread maker on a stable, level surface, away from water sources and direct heat. Ensure there is adequate ventilation around the unit. A clear countertop space is ideal for easy operation and access.
Powering On and Basic Functions
Powering On: Plug the Andrew James Bread Maker into a grounded electrical outlet. The power button is typically located on the front panel. Press the power button to turn the unit on. The display panel will illuminate, indicating it’s ready for operation.
Selecting a Program: Use the program selection buttons to choose the desired bread-making cycle. Options commonly include White Bread, Whole Wheat, French Bread, and Dough. Refer to the program guide within this manual for specific cycle times and settings.
Adjusting Settings: Utilize the crust color button to select your preferred crust darkness – light, medium, or dark. The delay timer function allows you to schedule baking up to 13 hours in advance. The start/stop button initiates or pauses the selected program. Always ensure the bread pan is securely in place before starting a cycle.
Understanding the Display Indicators
The LCD display on your Andrew James Bread Maker provides crucial information throughout the baking process. The program indicator shows the currently selected cycle (e.g., White Bread, Dough). The stage indicator displays the current phase – pre-heat, kneading, rising, baking, or keep warm.
Time remaining is clearly shown, counting down the minutes until the cycle completes. A delay timer indicator illuminates when the delay start function is active. Crust color selection (light, medium, dark) is also visually represented.
Error codes will appear if any issues arise during operation; consult the troubleshooting section of this manual for explanations. The keep warm indicator signals when the bread is finished baking and is being held at a warm temperature. Familiarizing yourself with these indicators ensures optimal control and understanding of your bread maker’s operation.
Bread Making Basics
Master the art of homemade bread! This section covers essential ingredients, precise measuring techniques, and a step-by-step guide to the bread-making process.
Ingredients and Their Roles

Flour: The foundation of your bread, providing structure. Bread flour, with its higher protein content, yields a chewier texture, while all-purpose flour works well for softer loaves. Experiment to find your preference!
Yeast: The leavening agent, responsible for making the dough rise. Active dry yeast needs proofing in warm water, while instant yeast can be added directly to the dry ingredients. Ensure freshness for optimal results.
Water: Activates the yeast and hydrates the flour, forming gluten. Temperature is crucial – lukewarm water (around 105-115°F) is ideal for yeast activity.
Sugar: Provides food for the yeast, contributing to browning and flavor. Honey or maple syrup can be used as alternatives.
Salt: Controls yeast activity, strengthens gluten, and enhances flavor. Don’t skip it! It’s vital for a balanced taste.
Fat (Oil/Butter): Adds richness, tenderness, and extends shelf life. Butter contributes flavor, while oil results in a softer crumb.
Measuring Ingredients Accurately
Precision is key to successful bread making! Always use measuring cups and spoons specifically designed for baking. Avoid simply scooping flour; instead, lightly spoon it into the measuring cup and level it off with a straight edge. This prevents packing, which leads to too much flour.
Liquid measurements should be taken at eye level in a liquid measuring cup. For yeast, ensure it’s not expired. A quick proofing test (dissolving in warm water with a pinch of sugar) confirms its viability.
Weight measurements (grams or ounces) are even more accurate than volume measurements, especially for flour. If your recipe provides weights, prioritize those. A kitchen scale is a worthwhile investment.
Consistency is crucial. Use the same measuring tools each time you bake to ensure repeatable results. Small inaccuracies can significantly impact the final texture and rise of your bread.
The Bread Making Process – Step by Step
Begin by adding liquids (water, milk, oil) to the bread pan, followed by dry ingredients (flour, sugar, salt). Create a small well in the center for the yeast, ensuring it doesn’t directly contact the liquids initially. This prevents premature activation.
Select your desired program on the control panel – for example, ‘Basic’ or ‘Whole Wheat’. Press ‘Start’ to initiate the kneading cycle. The machine will automatically handle kneading, rising, and baking.
Monitor the process through the viewing window, if available. Avoid opening the lid during baking unless absolutely necessary, as this can affect the oven temperature and rise.
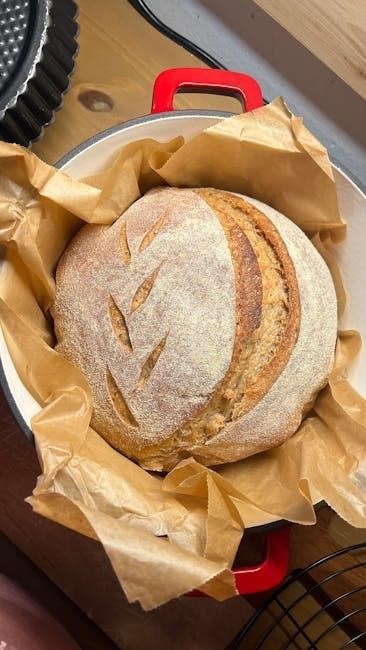
Once the cycle completes, carefully remove the bread pan using oven mitts. Let the bread cool in the pan for about 10-15 minutes before inverting it onto a wire rack to cool completely.
Using Pre-Programmed Settings
Simplify baking with ease! Explore pre-set programs for white, whole wheat, and French bread. These automated cycles deliver consistent, delicious results every time.
White Bread Setting
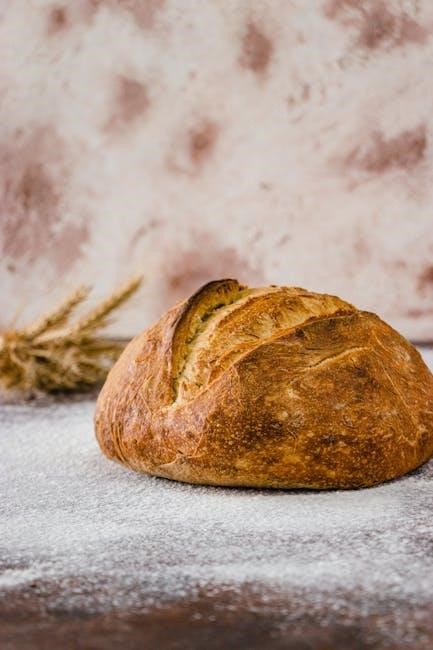
Achieving the Perfect Loaf: The White Bread setting on your Andrew James Bread Maker is designed for classic, everyday loaves. This program utilizes a specific kneading, rising, and baking sequence optimized for standard bread flour, resulting in a light and airy texture with a golden-brown crust.
Ingredient Considerations: For best results, use bread flour with a protein content of 11-13%. A typical recipe calls for water, flour, sugar, salt, and yeast. Ensure your yeast is active; proofing it in warm water with a pinch of sugar beforehand is recommended.
Cycle Details: The White Bread setting generally includes a kneading phase (approximately 10-20 minutes), followed by multiple rising periods, and finally, a baking cycle lasting around 50-60 minutes. Loaf size selection (1lb, 1.5lb, or 2lb) will adjust the cycle time accordingly.
Customization Options: You can adjust the crust color to your preference – light, medium, or dark – using the crust control button. Experimenting with different flour types within the white bread category (e.g., strong white flour) can also yield unique results.
Whole Wheat Bread Setting
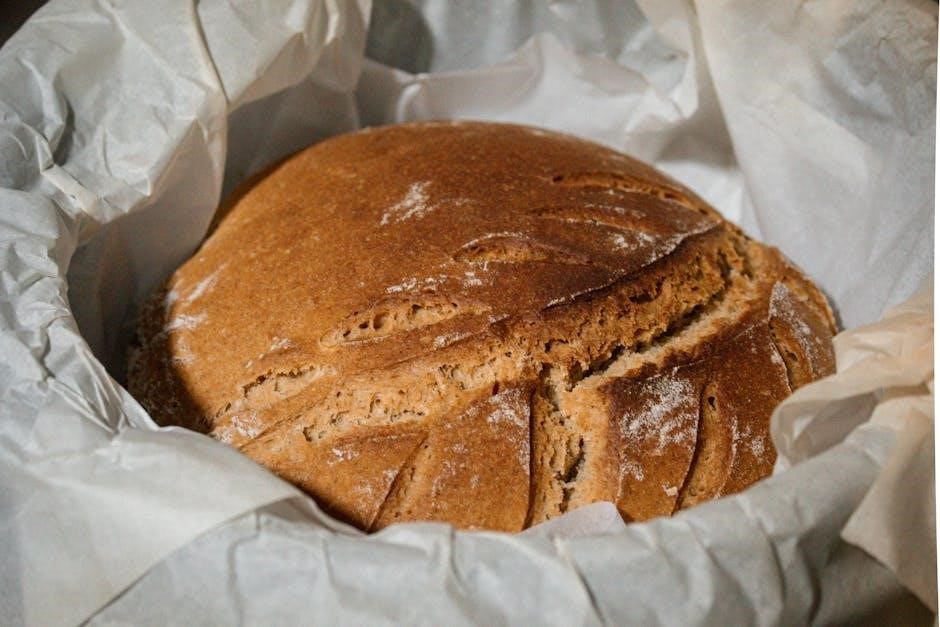
Nutritious and Flavorful Loaves: The Whole Wheat setting on your Andrew James Bread Maker is specifically calibrated for the unique characteristics of whole wheat flour. This program accounts for the higher bran content, which requires longer kneading and rising times to develop gluten properly and achieve a good texture.
Flour Selection & Hydration: Using 100% whole wheat flour can result in a denser loaf. Consider blending it with bread flour for a lighter texture. Whole wheat flour absorbs more liquid, so slightly increasing the water content in your recipe may be necessary.
Program Cycle: This setting typically features an extended kneading phase (around 20-25 minutes) to fully develop the gluten. Rising times are also longer to accommodate the bran’s impact. Baking duration is similar to the white bread setting, approximately 50-60 minutes.
Tips for Success: Adding a tablespoon of vital wheat gluten can improve the loaf’s rise and texture. Monitor the dough consistency during kneading; adjust liquid as needed. Experiment with honey or molasses for added sweetness and moisture.
French Bread Setting
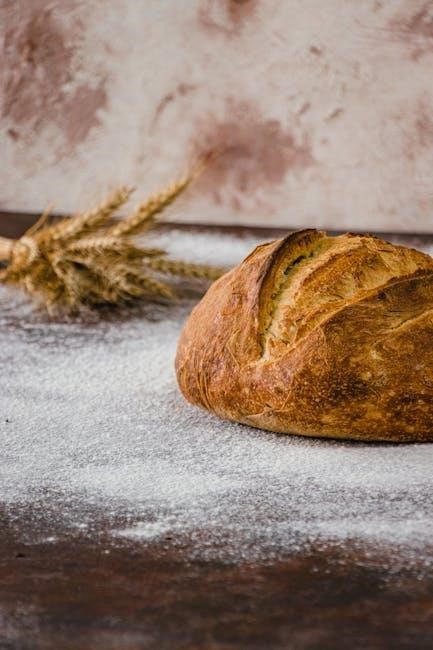
Achieving a Crusty Loaf: The French Bread setting on your Andrew James Bread Maker is designed to mimic the conditions needed for a traditional French baguette – a crisp, golden crust and a light, airy interior. This program utilizes a specific kneading pattern and baking temperature to achieve this texture.
Flour & Liquid Ratio: High-protein bread flour is crucial for developing the necessary gluten structure. The water content is typically higher than in standard bread recipes, creating a wetter dough that results in a more open crumb.
Program Cycle: Expect a shorter kneading time compared to whole wheat, focusing on speed rather than duration. A longer rising period allows for optimal flavor development. The baking phase often includes a burst of heat to create the signature crust.
Enhancing Flavor & Texture: Adding a small amount of malt powder can enhance crust color and flavor. Scoring the dough before baking (if your machine allows) helps control expansion. A spritz of water inside the bread pan during the initial baking stage can create steam for a crispier crust.

Advanced Features & Troubleshooting
Expand your baking horizons! Explore jam and dough settings, gluten-free options, and resolve common issues with our comprehensive error code guide for success.
Jam and Dough Settings
Jam Setting: The Andrew James Bread Maker isn’t just for bread! The Jam setting allows you to create delicious homemade preserves with fresh fruits and minimal effort. Simply combine your prepared fruit mixture, sugar, and a touch of lemon juice into the bread pan, select the Jam setting, and let the machine work its magic. Remember to check the recipe book for specific ingredient ratios and recommended cooking times for various fruits.
Dough Setting: Prefer to shape your bread by hand? The Dough setting is perfect for you. This setting kneads and proofs the dough, allowing you to remove it before the baking cycle begins. You can then shape the dough into loaves, rolls, or any desired form and bake it in a conventional oven. This provides complete control over the final product’s appearance and crust. Ensure you follow the recipe’s instructions regarding yeast activation and proofing times for optimal results. The dough setting is also excellent for making pizza dough or other yeast-raised pastries.
Gluten-Free Baking
Adapting to Gluten-Free: The Andrew James Bread Maker offers a dedicated Gluten-Free setting, catering to those with dietary restrictions or preferences. Gluten-free baking requires specific ingredients and techniques for successful results. Utilize a high-quality gluten-free bread flour blend, often containing a mix of rice flour, tapioca starch, and potato starch.
Essential Additives: Xanthan gum is crucial for mimicking gluten’s elasticity, providing structure and preventing crumbly textures. Follow recipe instructions carefully regarding the amount of xanthan gum needed. Ensure all ingredients are fresh, particularly the yeast, as gluten-free doughs can be more sensitive. The Gluten-Free setting typically has a longer kneading and rising time to compensate for the lack of gluten development. Always refer to gluten-free specific recipes designed for bread makers for best outcomes, and avoid cross-contamination with gluten-containing ingredients.
Common Issues and Solutions (Error Codes)
Troubleshooting Your Bread Maker: Encountering issues? This section addresses common problems. Error Code E01 often indicates a power interruption during the cycle; restart the machine. E02 suggests a temperature sensor malfunction – contact customer support. If your bread doesn’t rise, check the yeast’s expiration date and ensure proper activation with warm water and sugar.
Paddle Issues: A stuck paddle can be dislodged after cooling (unplug first!). Uneven baking might stem from ingredient distribution; ensure even mixing. If the crust is too dark, reduce sugar or shorten baking time. A collapsed loaf often indicates too much liquid or insufficient gluten development. Always consult the full manual for a complete list of error codes and detailed solutions. Remember to unplug the machine before any internal inspection or cleaning.

Maintenance and Care

Keep your bread maker in top condition! Regular cleaning, proper storage, and understanding the warranty ensure years of delicious, homemade bread enjoyment.
Cleaning Your Bread Maker
Regular cleaning is crucial for maintaining optimal performance and hygiene. Always unplug the bread maker and allow it to cool completely before cleaning. The baking pan and kneading blade are removable and can be washed with warm, soapy water. Avoid abrasive cleaners or scouring pads, as these can damage the non-stick coating.
The exterior of the bread maker can be wiped down with a damp cloth. Do not immerse the main unit in water or any other liquid. Ensure no water enters the control panel or heating element. For stubborn residue inside the baking pan, soak it in warm water for a while before washing.
Thoroughly dry all parts before reassembling. Pay attention to the kneading blade shaft within the baking pan, ensuring it’s free from dough buildup. Inspect the heating elements periodically for any food particles and gently remove them. Consistent cleaning prevents odors and ensures your bread maker continues to deliver perfect loaves.
Storage Instructions
Proper storage extends the life of your Andrew James Bread Maker. Before storing, ensure the unit is completely cool and dry. Clean all removable parts – baking pan, kneading blade – thoroughly and allow them to air dry before storing separately. Avoid storing the baking pan with the kneading blade still inserted, as this could damage the non-stick coating.
Store the bread maker in a cool, dry place, away from direct sunlight and moisture. A clean, level surface is ideal. If storing for an extended period, consider covering the bread maker with a dust cover to protect it from dust and debris. Avoid stacking heavy items on top of the appliance.
Keep the original packaging for safe storage and transportation. Ensure the power cord is neatly coiled and stored to prevent damage. Regular use will help maintain the bread maker’s functionality, but proper storage when not in use is equally important for longevity.
Warranty Information
Your Andrew James Bread Maker is covered by a one-year manufacturer’s warranty against defects in materials and workmanship from the date of original purchase. This warranty covers normal household use only. Damage resulting from misuse, abuse, accidents, unauthorized repairs, or failure to follow instructions is not covered.
To make a warranty claim, please contact Andrew James customer support with proof of purchase (receipt or order confirmation). Do not attempt to repair the unit yourself, as this will void the warranty. We will assess the issue and, if covered, offer a repair, replacement, or refund at our discretion;
The warranty does not cover normal wear and tear, including the non-stick coating on the baking pan. Retain your proof of purchase for warranty service. Full warranty details and contact information can be found on the Andrew James website.